Monday, February 22, 2010

New Plan

During our house search, we stopped into the Urbandale town home models. I noticed that they had upgraded their regular baseboards to taller more formal looking ones. I got all excited and pointed them out to my husband, who wasn’t nearly as impressed as I was. I immediately jotted this tidbit of information down on the floor plan notes and put a big star next to it as a bonus point for Urbandale. I was all gung-ho even if I didn’t really like the floor plan…that was until I took a closer look…

Project 1A: The Baseboards


My Mission:

To add some character to our baseboards by making our plain old standard 3” baseboards look taller without going to the expense of replacing them with new 5” baseboards. I was hoping to achieve a more formal look, especially in the living room and dining room.

Before:
the old baseboards (minus the pretty painted wall of course).
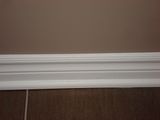
Photobucket

Most people would probably think there was nothing wrong with these baseboards. I on the other hand I LOVE the look of a taller moulding. In fact I love all moulding – wainscoting, crown moulding, coffered ceilings. I reminds me of an older home, where character is defined by the eloquent wood trims they used on the walls and ceilings. In modern times it is painted out white for a more light and airy feel – even that doesn’t take away from the elegance it creates in a room. Go ahead, Google “luxury homes” and you’ll see for yourself exactly what I am talking about!

After:
the new baseboards

Photobucket

DIY Coles Notes Version
It was a really simple fix. I went to Home Depot and found a skinny little trim attached it to the wall about 1 ¼” above the baseboard and painted the whole thing white so it reads as one piece.

DIY Tips for the Project
- Cutting the moulding with a mitre box and hand saw worked the best. The electric saw seemed to burn the wood and chew the ends.
- Drill pilot holes for the finishing nails keeps the moulding from splitting
- Use a small bead of glue to help the trim stick and stay put on the wall then hammer in the nails to keep it in place. (this is a 2 person job)
- Use a piece of wood or other straight object as a spacer to measure the height from the top of the baseboard to the bottom of the new trim. We used a piece of a picture frame that got broken in the move. You and your partner in crime should each have an identical piece.
o Here’s how we did it:
~ After we put glue on the back of your moulding, we slid the spacer against the old baseboard ensuring its flush against the top of the baseboard.
~ We put the new moulding against wall and slid it into place flush against the top of the spacer.
~ We hammered in a couple of nails that are in the near by vicinity of the spacer.
~ We slid the spacer down the trim to the next set of nails, repeat until all nails are complete. (We hammered the nails in half way so they were through the trim and into the wall board and then went back and counter sunk them. We didn’t need 3 hands this way!)
~ We made sure to keep a damp cloth near by to wipe off any excess glue off the wall.
- caulk the top and corners of the trim for a more professional look
o Here’s how we did it:
~ We put a bead of caulking along the top edge of the new moulding
~ I ran a finger along the edge to smooth it out. A damp finger works best
~ I used a damp cloth to wipe off any excess caulking from my finger every couple of feet so I didn’t smear caulking all over the walls.
- tape off your floor and paint all trim one colour

The Cost for the project

Trim: $4.87 per 8 foot length. I used about 10 pieces Total: $48.70
Mitre Box and Saw $12.95
Caulking $ 4.95
No More Nails Wood Glue $ 8.95
Caulking Gun $10.95
Finishing Nails $ 7.95
Grand Total $94.70
(plus taxes and stuff of course)

Conclusion

For less than $100 I achieved the look of taller trim. If we had replaced the trim, it would have cost double.
Would I do it again or hire a professional? I would probably just do it myself. It achieved the look I was going for and wasn’t too time consuming. Anyone who is handy can complete this project quite easily.
Let the painting begin….well sort of….

With the colours picked and the paint bought, I had a pretty specific plan of attack for the painting. I would start on the main floor as these rooms didn’t have any furniture in them. My goal was to finish the main level by December, so we could have a Christmas party and housewarming all in one. It wasn’t the painting that held me up….

Tuesday, February 9, 2010

To chose a colour or not to choose a colour...that is the question!

After spending 2 weeks riffling through my Benjamin Moore colour books trying to pick colours to tone down the brown, I got frustrated. I know what i like, but nothing seemed to match. I was deathly afraid to make the wrong choice.

On one side I had all the design shows saying, its just paint! It’s an easy inexpensive fix – if you don’t like it, just paint over it! But lets be honest here folks, painting isn’t really that cheap. If you price out a gallon of paint it can cost you anywhere from $40 to $80. When you are painting over builder’s beige, it really soaks in so I find you use a lot more. And then there is your time, it can take days, sometimes weeks to finish up. Or if you hire a painter, the labour cost isn’t that cheap either. I guess all of this is relative to ripping out your kitchen or bathroom but come on I don’t have a few grand to throw around on painting the walls, x2 if I have to do it again!

On the other, I have visions of picking a colour that looks nice on the paint chip, painting the walls and having it up looking pink. Just what I’d need a brown and pink house…

So I hop online and start to do some research. I find that some interior designers will come and do a colour consult and help you to choose your paint colours. If they screw it up, at least I have someone to blame it on!

After viewing a few websites and looking at different designers portfolios, I make my pick. A lovely lady named Catherine. She came in, we talked for a few minutes about what colours I liked and didn’t, I told her about my brown dilemma and within 45 minutes she did what I couldn’t – make the decision on colours.

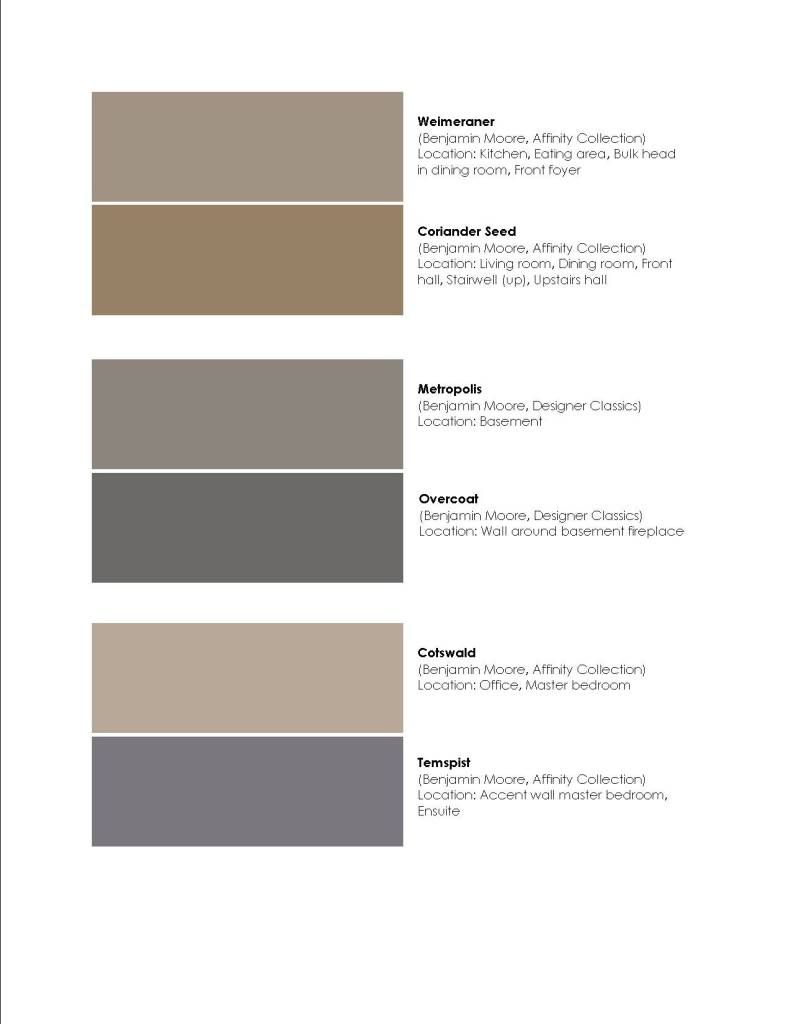
Here is what she picked:

Photobucket

A relief right? WRONG.

After she left, I took a second look at the colours she left me with and started to panic. All I could see was that she wanted me to paint the whole main level brown (Coriander seed). And how was that supposed to de-brownify?? I started having heart palpitations because I thought I had just wasted $150 on something that got me no further ahead. I called hubby on the verge of tears and told him my doubts. He calmed me down and said that he would take a look when he got home and we could make a decision then.

We decided that we would trust her choices and paint the rooms according to her plan. After all she does do this for a living and besides it is only paint, if we don’t like it we can change it…

So then the next big debate is…what type of paint to choose.
I am totally partial to Benjamin Moore paint. I used the middle of the road paint when we painted our apartment and fell in love. The colours came out true to the chip, it was easy to paint with and covered really well. My only complaint though was the price, it wasn’t the most expensive paint I’d seen but it wasn’t the cheapest either. With this being a new construction home, I anticipated having to use a lot more paint. But maybe I should prime first?

Every store that sells paint seems to have one type that has a primer built in. In theory it sounds good, but is it really? How can you paint the wall with paint and a primer at the same time? Why did no one think of this one before?

So off to my local BM store I went to find out prices and get some more information on this primer and paint combo.

Their line is called Aura, it retails for about $70 a gallon! The benefits that really attracted me were:

-recoatable in 1 hour. I was sceptical, but it’s true. You can basically paint a room and just keep going once you are done. The regular 4 hour wait time is what really drives me nuts – it seems like such a waste of time to wait around to finish a room. I was able to start a room at 7 and be done by 9 – two coats and clean up. This made it really easy to paint a room during a nap time!

-2 coats maximum, even on the deepest colours. Again I had my doubts but its true!

-Low VOC. It definitely did not stink up our place like the regular paint did.

Armed with my information in hand, it was now time to convince hubby. He reluctantly gave in but made one small request, to see if they offered any kind of a discount if we bought the paint for the entire house.

So I negotiated with the paint store and ended up with a 15% discount on all my purchases. Every extra penny counts right?

Let the painting begin!

Our Little Brown House

About 6 months ago we moved into our new place. It’s a new construction semi detached in a southern suburb of Ottawa.

After more than 2 years of scrutinizing every little detail of this place, we move in and I am immediately disappointed by some of our colour selections. Keep in mind my first visit was 10 days after giving birth, so I like to blame it on my hormones. I had envisioned more grey-beige tones, instead, I got brown. Everything felt like it was brown, the tan coloured carpet, the chocolate coloured floors the café-au-lait coloured tiles. Brown, brown, brown. UGH.

Here are a couple of pictures from our PDI:

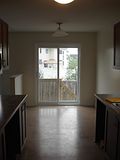
Kitchen from the eating area:

Photobucket

Eating Area from the Kitchen:
Photobucket

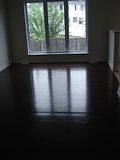
Living room:
Photobucket

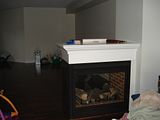
3 Sided Fireplace/dining room:
Photobucket


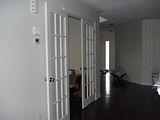
French Doors into the Study off the dining room:

Photobucket

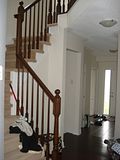
Front hall and Foyer:
Photobucket

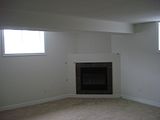
Basement Fireplace:
Photobucket

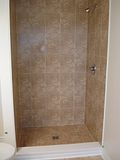
Master Ensuite Shower (without the glass door):
Photobucket

Master Ensuite Tub:
Photobucket

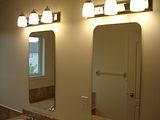
Master Ensuite Mirrors and Lights:
Photobucket

Ensuite Vanity:
Photobucket

A bit more about me...

Originally I am from Ottawa. I moved out to Vancouver when I was 18 to become a fashion designer (that’s what I told everyone because I was embarrassed to tell them that I had really met a guy online and I was moving out there to be closer to him – it just sounded better as back then internet dating hadn’t really taken off yet).

I had a solid plan of becoming a world renowned Designer by the time I was 30. Then life happened. I broke up with the guy, and stayed in Vancouver where looking back I held some really interesting jobs that has shaped my current career path.

I got my first job, fresh out of school, as an assistant buyer for a local home decor chain of stores. I managed to fool them into hiring me with absolutely no experience. Later when talking to my boss, he said it was my attitude that sold him. He said I came in with a determination to succeed and willingness to learn. Who knew that was all you needed! Although I didn’t know it at the time, it was in this position that I met my future husband.

From there I moved on to another locally owned bedding retailer. They had more of a focus on design as they manufactured and sold their own line duvets, pillows and fashion bedding. It was a little more up my alley. I gained a wealth of experience working with the owner, choosing the next hottest prints and colour trends. I had a blast! And probably would have stayed if I hadn’t of gotten a phone call from home about my dream job.

In high school I did a co-op with a wedding gown designer and manufacturer. My old boss called me to tell me they had a position open in purchasing. I would be their buyer of raw materials. I accepted and happily moved home! I moved my way up within the company until I had my real dream job – production manager. I got to work with the most expensive silks and laces, helping out with construction issues and using all of my previously learned experience, I did the job very well. Unfortunately with the economic downturn (but more so because of a crazy owner) the company went bankrupt and I found myself out of work. This was a hard blow for me as I said it was a dream job and to watch it all crumble hurt immensely. It took me a while to pick myself up and move on…

Currently I do what about 80% of Ottawa residents do, work for the government. It’s a job that is WAY beneath my experience level, but I love the people I work with and the department I am in. It allows me the freedom to focus on other important areas of my life, like my DIY habit.

Jumping back a bit, when I moved back to Ottawa, I found out that an old coworker from Vancouver had also moved back to the city. We met for dinner one July night to catch up and we haven’t left each other’s side since. 18 months later, he proposed, 11 months after that we got married, 6 months later that we bought our first home, 2 years later we had a baby and 10 days after that moved into our first home! Its been a busy 5 years.

Thursday, February 4, 2010

Introductions

Hello, my name is Jennifer and i am a DIY addict.

I can't really say when it all started...

...Maybe it was at 16 when I went to an office Christmas Party wearing a gorgeous little black dress with a boat neckline in front, plunging to a V in the back and sexy lace cutouts at the waist. I had my hair done up in a french twist and my mom let me borrow her pearls. Very Audrey Hepburn. I thought I looked amazing until a 60 year old co-worker showed up wearing the same dress, trying to pull off the same look. It was mortifying, especially with such a big age difference. I vowed never to show up at a party in something I hadn't made or at least had accessories to change the look of my outfit. This taumatizing event is when my desire for all things unique started.

...Maybe it comes from my parents, who have been married for 32 years and I swear have been doing renovation for at least the last 30. They taught me how to do things on the cheap and yet still make them look good. I think they were the pioneers of kitchen cabinet refacing.

What can I say? I like unique things but they have to be classic so they don't date too quickly. I like expensive things but i am generally way to practical to buy them. This combination makes me very picky and that makes it really hard to find what I like, so i scheme up ways to get what I want. Whether by saving for it or mostly by making it myself.

Now that we have moved into our first home, the monster has been unleashed!