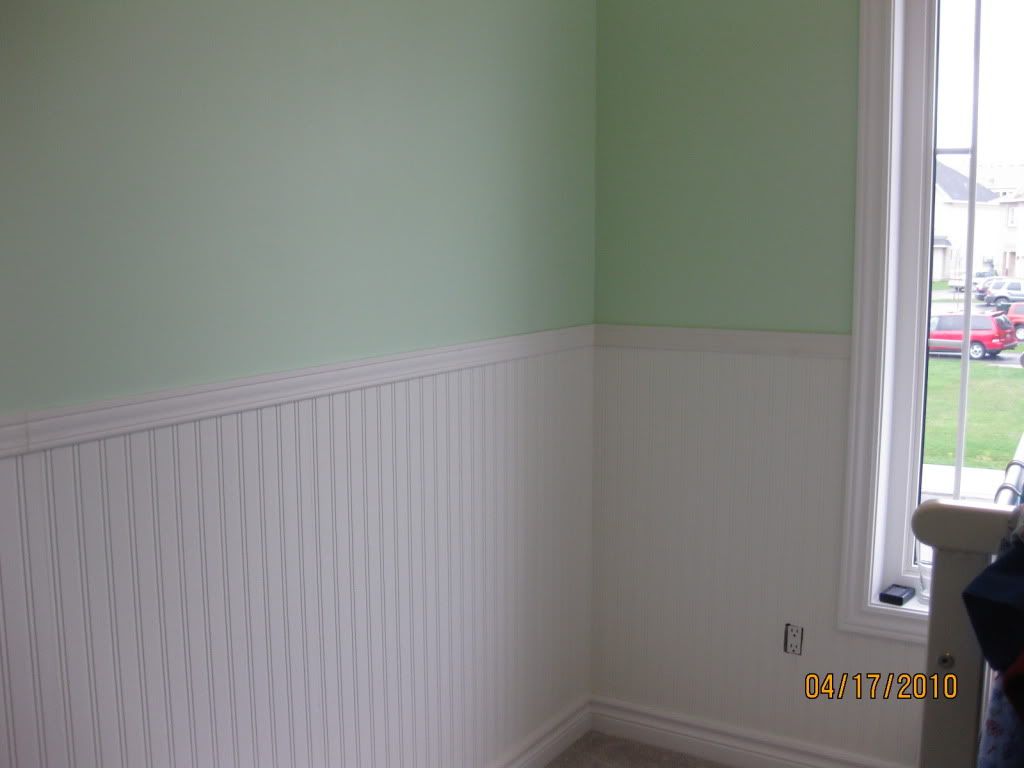
She had painted the room green but felt the room was a bit plain.
The room before its transformation:
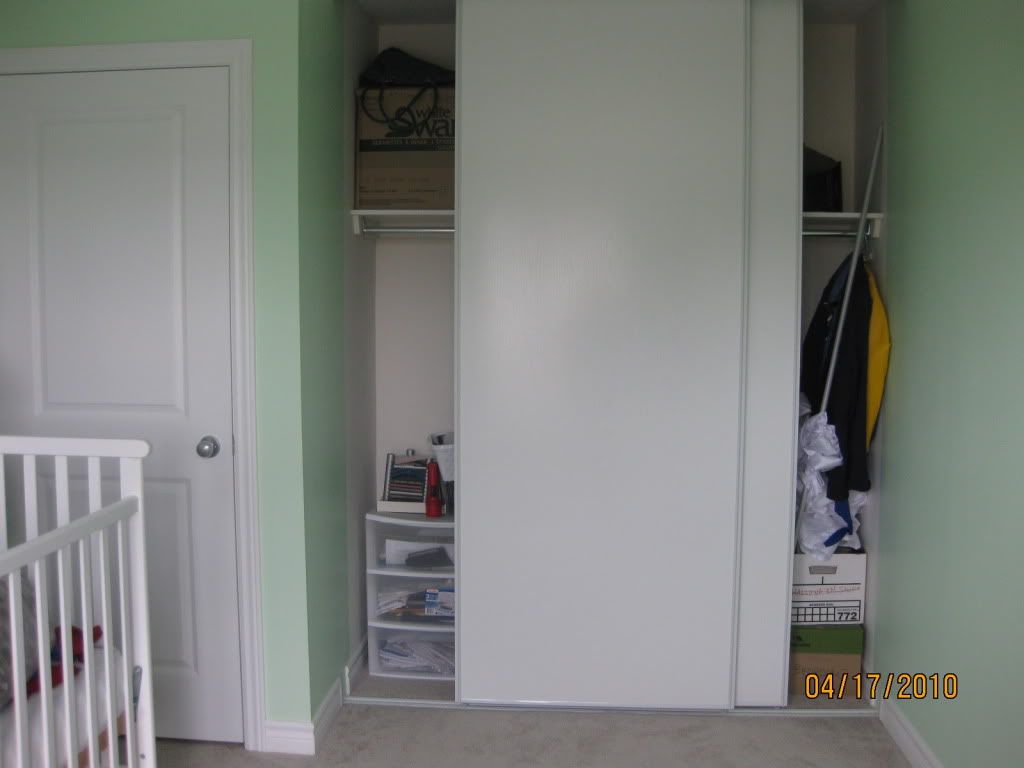
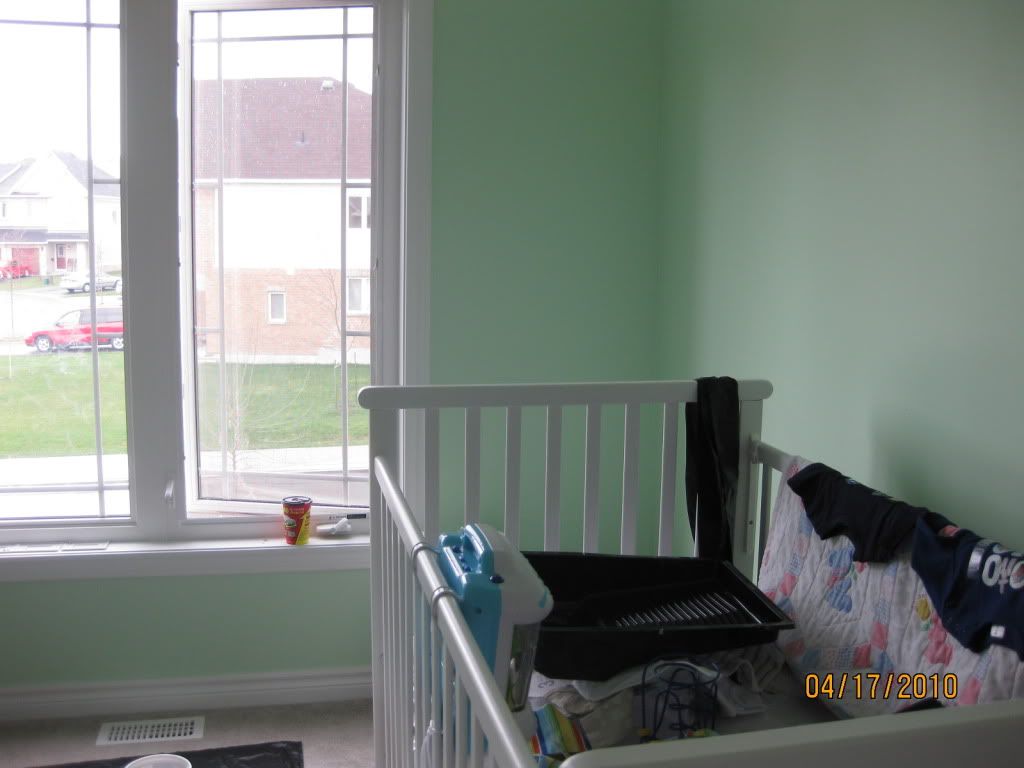
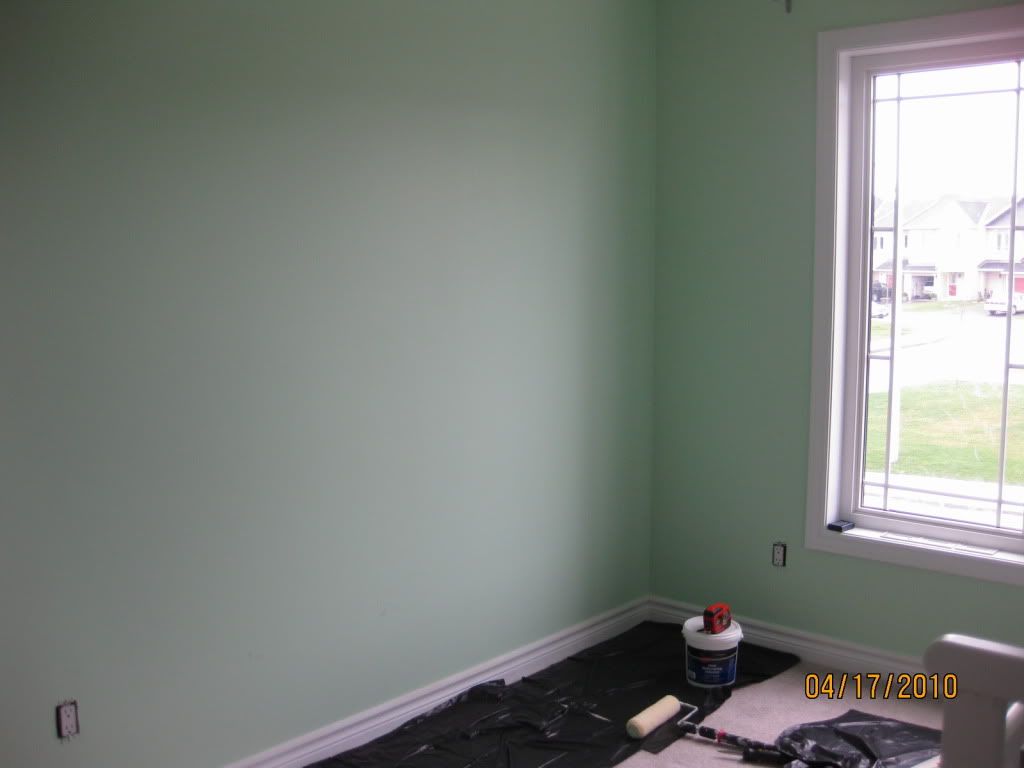
Our Mission….
She and I tossed around a few ideas but she really wanted to do wainscoting. So again we tossed around ideas for how to do it – whether we go with just a simple chair moulding and add in some trimmed out squares or rectangles below, or if we attempt something a bit more complicated and go with MDF strips to create a square pattern. She really liked the idea of beadboard, but what a pain to have to glue it to your walls. What if Baby R decided when he was 5 that he wanted to have something different?? It would be a nightmare trying to take it off. I know I had visions of having to re-drywall. Not fun and not to mention expensive too. So we kind of stalled for a couple of weeks until last weekend when we got the “DreamBook” from Home Depot. I was flipping through dreaming about my new deck and re-doing our master bath for the umpteenth time, when I came across Martha Stewart’s new line of paintable wall coverings (item #6 in the colour by numbers section of the “Dreambook”). I know what you are thinking: You’re crazy. My grandma used a paintable wallpaper in her kitchen to make it look like she had tiles back there. That stuff is uuuuugly! I was thinking that too. But we missed two key words: Martha and Stewart. It HAS to be a "Good Thing", right???
DIY Coles Notes Version
This paintable wall paper is easily installed, you put the adhesive on the wall and slap on the paper. Add a trim to finish off the edge. And then paint it out. It is really as easy as it sounds.
DIY Tips for the project
- We used a laser level to mark the height of the bottom of the trim and added 1”. This measurement became the length we cut the paper strips.
- We used one of those “completely useless for painting” edger painting pads (the kind that are supposed to make painting along the ceiling and around baseboards sooo easy) to apply the adhesive.
- Use a good sharp exacto knife to cut the paper off along the baseboard and around windows etc. You will know when it’s time to snap off the blade because it will shred the paper instead of giving a nice clean cut.
- Use a chair railing trim or for a thicker look, we used a casing
- After the trim is up, if any of the paper shows above the trim, use a SHARP exacto knife to trim it away
- caulk the top and corners of the trim for a more professional look
o Here’s how we did it:
~ We put a bead of caulking along the top edge of the new moulding
~ I ran a finger along the edge to smooth it out. A damp finger works best
~ I used a damp cloth to wipe off any excess caulking from my finger every couple of feet so I didn’t smear caulking all over the walls.
~ Paint out the paper and the trim. We found using a brush worked best for this project because it gets into the crevasses of the “beadboard”
The cost for the project:
2 rolls of paper at $24.99 each total: 49.98
5 pieces of 7’ long trim at $ 4.79 each total: $23.95
Wallpaper paste $16.95
Paint $42.95 (we bought a gallon but only used about ½ of it)
All other supplies we had left over from previous project.
GRAND TOTAL: $133.83
(plus taxes and stuff of course)
Conclusion
For less than $135 we achieved a look that certainly would have cost more – an 8’ sheet of beadboard alone is about $15. This is an excellent alternative to the real thing. It was not a time consuming project (about 1 day + painting time)
Would I do it again or hire a professional? I would totally do this again. If this was the look I was trying to achieve, it is too simple NOT to diy.
Welcome to the family Baby R!!!! We hope you enjoy your new room:
The paper is up! Now time for the trim work…
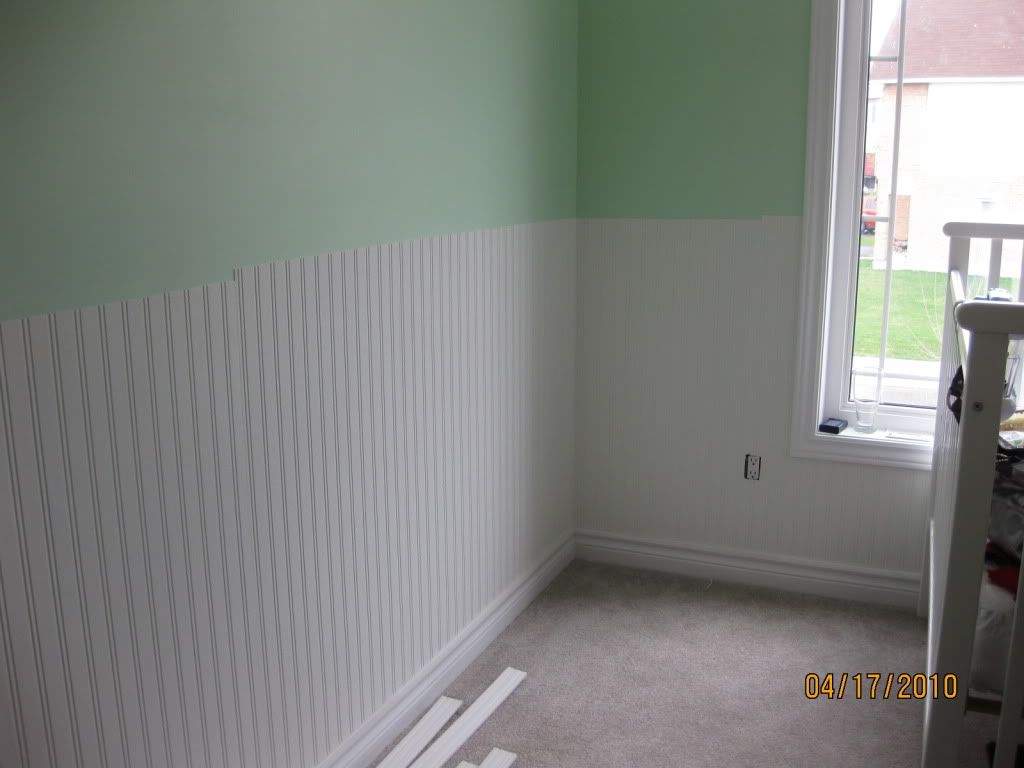
Just needs some paint!
